Processing Patron Fines
Note: To send e-mail notifications
to patrons who owe fines, see the
preceding section, “Sending E-mail
Notifications for Fines and
Overdue Items.”
Before you can receive payment or forgive a fine, the overdue item must be returned or claimed as lost or damaged. The item status changes from Overdue Loan to Fine when the item is returned.
Recording a Payment
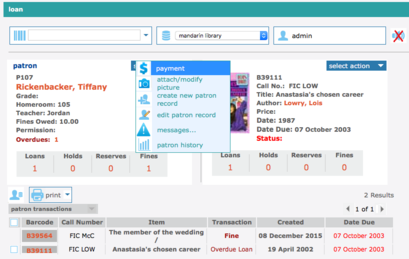
1. In the Barcode box, scan the patron barcode, or type it and then press ENTER.
2. In the side menu, click Payment. This displays the Payment page, which lists the patron’s fine(s).
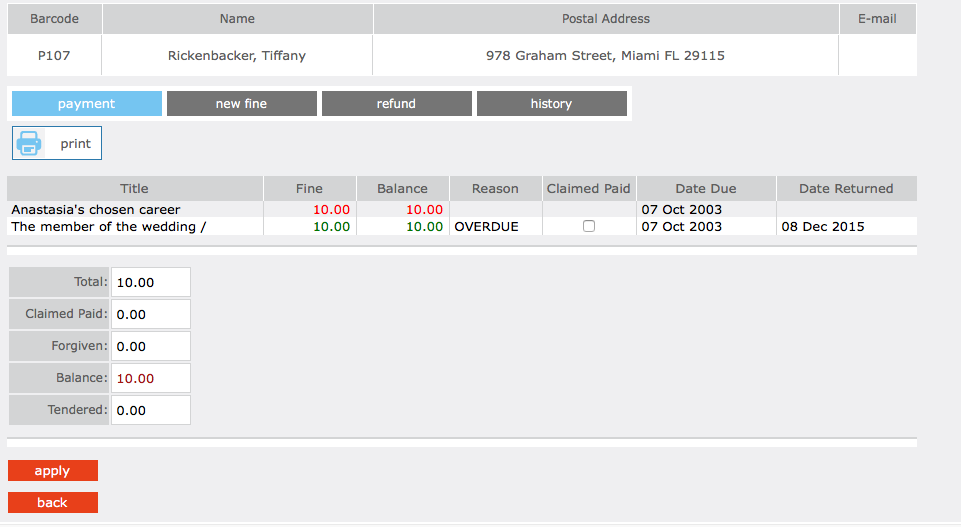
3. This page has four tabs:
-
Payment – Use this tab if the patron is paying the fine. Type the amount of currency received in the Tendered box. Click Apply. (If change is due back, a dialog box displays the amount to be returned to the patron. Click OK.)
NOTE: If the patron claims that he or she previously paid a particular fine, click the History tab to review the payment history. If you want to record that this item was previously paid, select the Claimed Paid check box by that item. This reduces the Balance amount accordingly.
-
New Fine – Use this tab if you want to add a new fine. Type the amount of the fine and a note, if desired. The new fine and the note will be added to the fines listed in the Payment tab. Click Apply.
-
Refund – Use this tab to apply a refund. Type the amount of the refund and a note, if desired. Click Apply.
-
History – Use this tab to view payment history. When finished, click Done.