Bib Records (Add, Duplicate, Edit, Add from Z39.50)
Note: Bibliographic records can also
be added and edited within Circulation.
Adding a Bibliographic Record to the Catalog
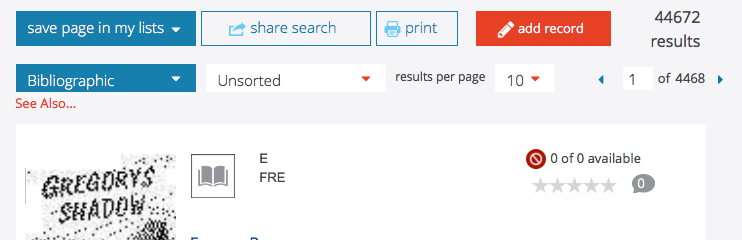
On the Results page, click the Add Record link at the top of the page. This displays the basic record editor, which allows you to quickly enter a record. If more options are required, skip to Using the Advanced Editor.
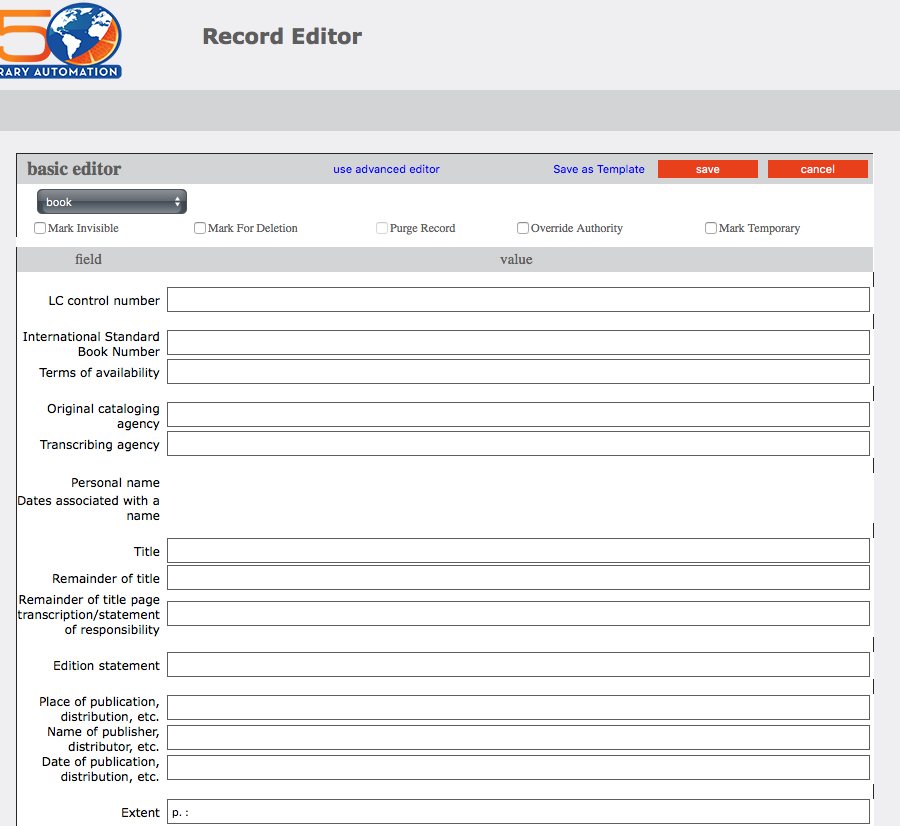
Using the Basic Editor
Select the media type in the list at the top (for example, Book). This displays the appropriate fields for this media type.
Type data in the desired fields.
To mark this record for deletion, select the Mark for Deletion check box. The record will not be totally removed from the database until you select the Purge Record check box and then Save.
If you have Authority Control installed, certain authority-controlled fields are editable only when the Override Authority check box is selected. If you do not want these fields to be editable, clear the check box.
When finished, click Save.
Note: The Override
Authority check box appears
only if Authority Control is
installed on your system.
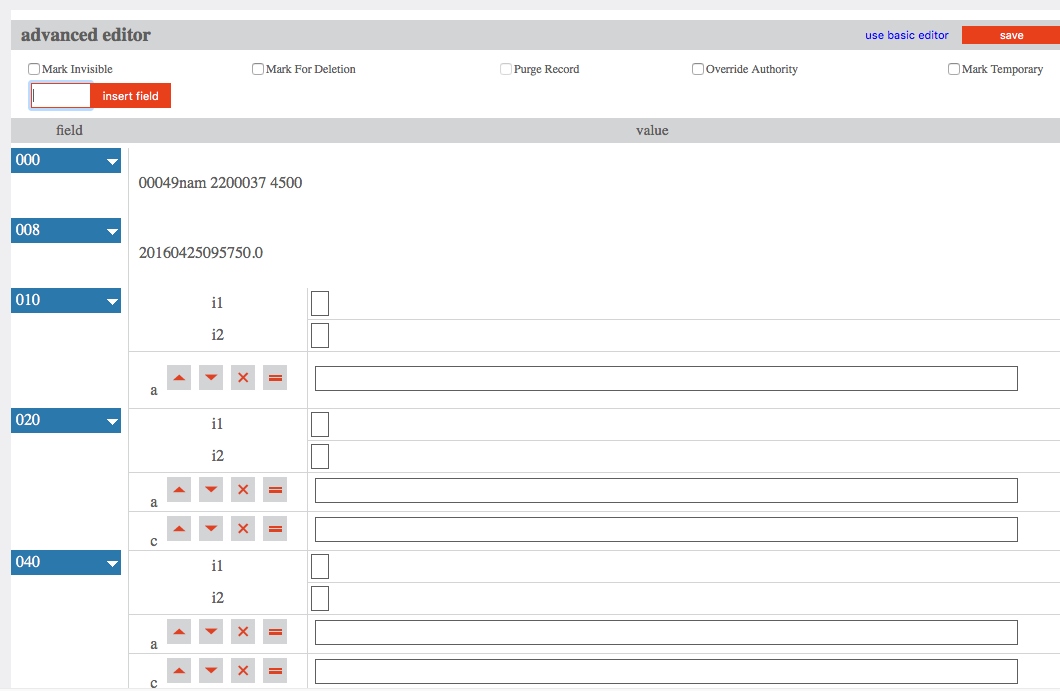
Using the Advanced Editor
1. To display more field and subfield choices, click Use Advanced Editor. This displays the advanced record editor
2. On this page, you can edit the record.
To insert a new field, type the field number in the keyword box at the top, then click Insert Field. This displays another page with subfield choices; its contents will vary depending on the field. Select the check box next to the desired subfield, or type the subfield in the keyword box, then click OK.
You can hold your mouse over the number in the Field column until a menu displays, then click an option in the menu. In control fields, your options are Edit or Delete; in data fields, your options are Insert Subfield, Delete, Move Up, Move Down, and Rename.
To mark this record for deletion, select the Mark for Deletion check box. The record will not be totally removed from the database until you select the Purge Record check box and then Save.
If you have Authority Control installed, certain authority-controlled fields are editable only when the OverrideAuthority check box is selected. If you do not want these fields to be editable, clear the check box.
3. When finished, click Save.
Tip: To type multiple fields or
subfields in a keyword box,
separate the entries with a
comma and no spaces (for
example, to insert fields 200,
300, and 500, type
200,300,500).
Note: The Override
Authority check box appears
only if Authority Control is
installed on your system.
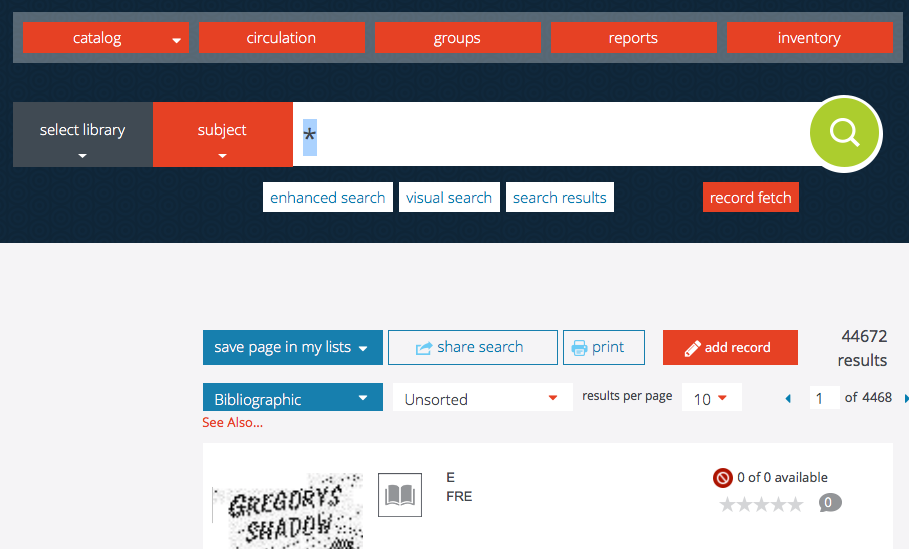
Adding Records to the Catalog from Z39.50 Sites (Record Fetch)
In Record Fetch you can add records from the Z39.50 sites configured by your system administrator. After searching for the desired records, add them to your bookbag and then add them to the catalog.
Select RecordFetch underneath in the search bar.
Under Select Libraries, select each site you want to search, then click back on RecordFetch to return to the Search page.
Enter your search query and click Search. This displays the Results page with the list of search results.
Select the Save page in my list or Save record in my list.This adds these records to your list/
Click My Lists link in the top of the page to access your lists. To add these records to the catalog, click the AddRecords link at the top of the list.
A confirmation appears; click OK.
To import multiple records from Z39.50 sites by using ISBNs or ISSNs, see Using ISBN/ISSN Fetch.
Note: For information on
configuring Z39.50 sites, see
“Configuration” chapter.
Tip: You can clear the check
box next to any record you do
not want to add to the catalog;
it will be removed from your
bookbag.
Creating a Bibliographic Record by Duplication
1. Search for the bibliographic record you want to duplicate. Enter the desired search criteria, then click Search. This displays the Results page with your search results.
2. On the Results page, click the Duplicate link under the bib record. This displays the basic record editor with a duplicate record. (To display more field and subfield choices, click Use Advanced Editor. This displays the advanced record editor. See Using the Advanced Editor.)
3. Edit the data as needed.
4. To mark this record for deletion, select the Mark for Deletion check box. The record will not be totally removed from the database until you select the Purge Record check box and then Save.
Editing a Bibliographic Record
1. Search for the bibliographic record you want to edit. Enter the desired search criteria, then click Search. This displays the Results page with your search results.
2. Click the Edit link under the bib record. This displays the advanced record editor with record data.
3. Edit the data as desired.
Tip: To create a more specific search,
enter MARC field and subfield codes
(e.g. 852#k) in the small empty boxes
next to the dropdown menus of the
search form. Then enter the search
criteria in the box below as usual.
Information in the small box overrides
and ignores the dropdown menu.
4. To mark this record for deletion, select the Mark for Deletion check box. The record will not be totally removed from the database until you select the Purge Record checkbox and then Save
NOTES:
To undelete a record, click Edit on the Results page. In the record editor, clear the Mark for Deletion check box, then click Save.
Records can be deleted and/or purged in batches in Advanced Cataloging. See Using Find and Replace.