Once a search query is sent, the Results page appears listing all the records matching the query.
Returning to the Search Page
To return to a blank search page, click one of the Search link at the top of the side menu (Standard Search, Enhanced Search, or Visual Search). You may need to click Clear to delete previous search terms.
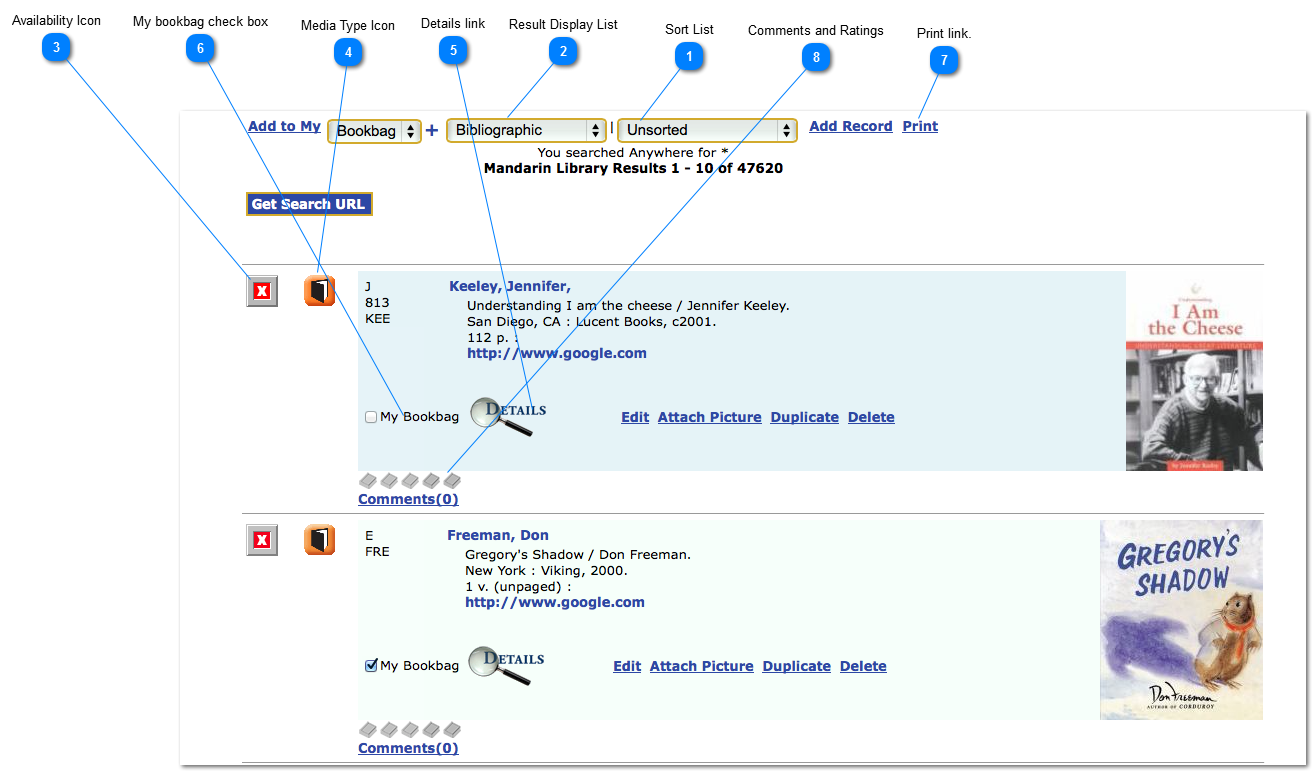
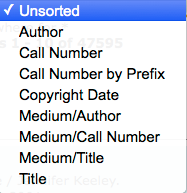
Sort List
Sorting the Record List
To sort the records displayed by a different sort formula, select a sort order in the Sort list.
To determine an item’s availability, refer to the color of the square or star-shaped icon next to the record. Green with a check mark signifies available and red with a marksignifies unavailable. A blue box indicates an item available electronically.
If you are searching at a library with multiple sites, a star-shaped icon indicates that the item can be found at the local site; records located at other sites will have a square icon. At a single-site library, the icon will always be a square.
To view more information about a specific record, click the Details link. This opens the Details page containing the expanded bibliographic record and item location information. See “The Details Page” for more information.
To add specific records to the Bookbag for later viewing, printing, or e-mailing, select the corresponding My Bookbag check box for each item. To add all the items on a Results Page to a Bookbag, click on the Add to My Bookbag link at the top of the page. To view the contents of the Bookbag, click the My Bookbag link in the side menu. For more information on the Bookbag, see “Using the Bookbag”.