Generating Barcode Labels
M3 includes a Barcode Labels utility that allows you to create and print barcodes for items in your collection.
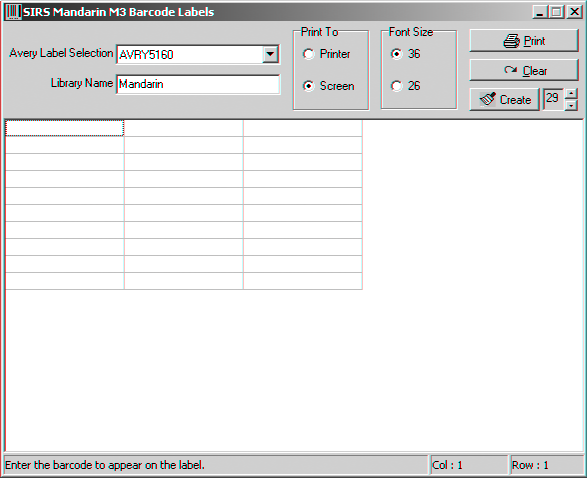
1. On the taskbar, click the Start button, select Programs, select Mandarin M3, select Utilities, and then click Barcode Labels. This displays the Barcode Labels window (Figure 2).
FIGURE 2
Tip: You can change the font size of the printed labels by clicking 36 or 26 in the Font Size box.
2. In the upper pane, select the Avery label you want to use, then type the library name you want to appear on the printed barcode.
Note: If 852#p does not appear in the record, add it. Right-click in the record,
select Insert Field, select 852, then click OK. Then select p and click OK.
3. In the first barcode box (shown in Figure 2), type the first barcode in the sequence, and then click Create. This fills each of the barcode boxes with a barcode based on your first entry incremented by +1. For example, if you type 1000, then next entry will be 1001, then 1002, and so on.
4. If you want to preview the barcode labels, click Screen in the Print To box, then click the Print button. When you are ready to print the labels, click Printer in the Print To box, then click the Print button.
5. You now need to assign a barcode to each textbook holding record. To do so, search for the holding record in the Cataloging module. When it dis- plays in the main window, double-click it. The record now displays in the lower pane of the Holding - Cataloging window (see Figure 3). Click in field 852#p and then scan the holding’s barcode with your barcode scanner. The barcode will appear in the 852#p field. Click Save in the holding window and repeat for each holding.